Website Builder > Setup Next.js Project
Setup Next.js Project
Set up the Next.js starter kit and connect it to your Webiny project with the Webiny SDK.
- How to install and configure the Next.js starter kit
- How to connect your Next.js app to Webiny
- How to create and render your first page
Overview
This guide walks through setting up the Next.js starter kit and connecting it to your Webiny project. The starter kit comes with routing, SDK setup, and rendering already wired up, so you can start building pages right away. It renders Website Builder pages, and it includes an example of rendering Headless CMS entries with live preview.
If you already have a Next.js app, or you built one on an earlier version of the starter kit, see Upgrade Next.js Frontend to 6.5.0 instead.
For an explanation of how the Website Builder architecture works, see How It Works.
Prerequisites
- Running Webiny project (Core and API applications deployed)
- Node.js 22+ installed (Node.js 24+ still required if working with Webiny CLI)
- Familiarity with Next.js App Router
Installation
Clone the Starter Kit
Each Webiny minor version has a matching starter kit branch. For Webiny 6.5.x, clone the starter-kit-6.5.x branch:
Install the SDK
All Webiny integration code comes from a single package, @webiny/sdk-nextjs. It covers the Website Builder, the Headless CMS, and the rest of the Webiny SDK. Install the version that matches your Webiny project. You can find your version by running yarn webiny --version in your Webiny project directory.
The starter kit uses Yarn, so install the dependencies and the SDK with it:
The ~ prefix allows patch updates. Keep the SDK on the same minor version as your Webiny project.
Configuration
Get Credentials
To connect the starter kit to your Webiny project, you need an API key, the API host URL, and the tenant ID. The Configure Frontend dialog in Webiny Admin generates all three. Open it from the Dev Tools menu in the sidebar.
The dialog has a Frontend Domain field and a tab for each supported starter kit. Set Frontend Domain to the URL your Next.js app runs on (http://localhost:3000 during development) and click Save. The Website Builder editor and the Headless CMS live preview both load your app from this domain.
Open the Next.js tab and copy the environment variables. You’ll paste them into your .env file in the next step.
If your Admin runs on a non-localhost domain (for example, a deployed CloudFront URL), the dialog also includes a NEXT_PUBLIC_WEBINY_ADMIN_HOST variable. Copy that too. The starter kit uses it to allow Admin to embed your app in an iframe.
API Key Is Auto-Created
You don’t need to create an API key by hand. Webiny creates a read-only key for each tenant, called “Frontend Integration”. You’ll find it under Settings → Access Management → API Keys. It can read Website Builder pages and redirects, Headless CMS content, and languages. It can’t write anything, which is why it’s safe to use in a frontend app.
Projects that were first deployed before 6.5 have a key called “Website Builder” instead, and the dialog shows the older NEXT_PUBLIC_WEBSITE_BUILDER_* variable names. See Upgrade Next.js Frontend to 6.5.0 for how to handle that.
Set Environment Variables
Create a .env file in your Next.js project root and paste the copied variables:
All variables use the NEXT_PUBLIC_ prefix because the browser reads them during live editing.
Start Development
Run the dev server:
Open http://localhost:3000 . You’ll see a “Page not found” message. This is expected because no pages exist yet.
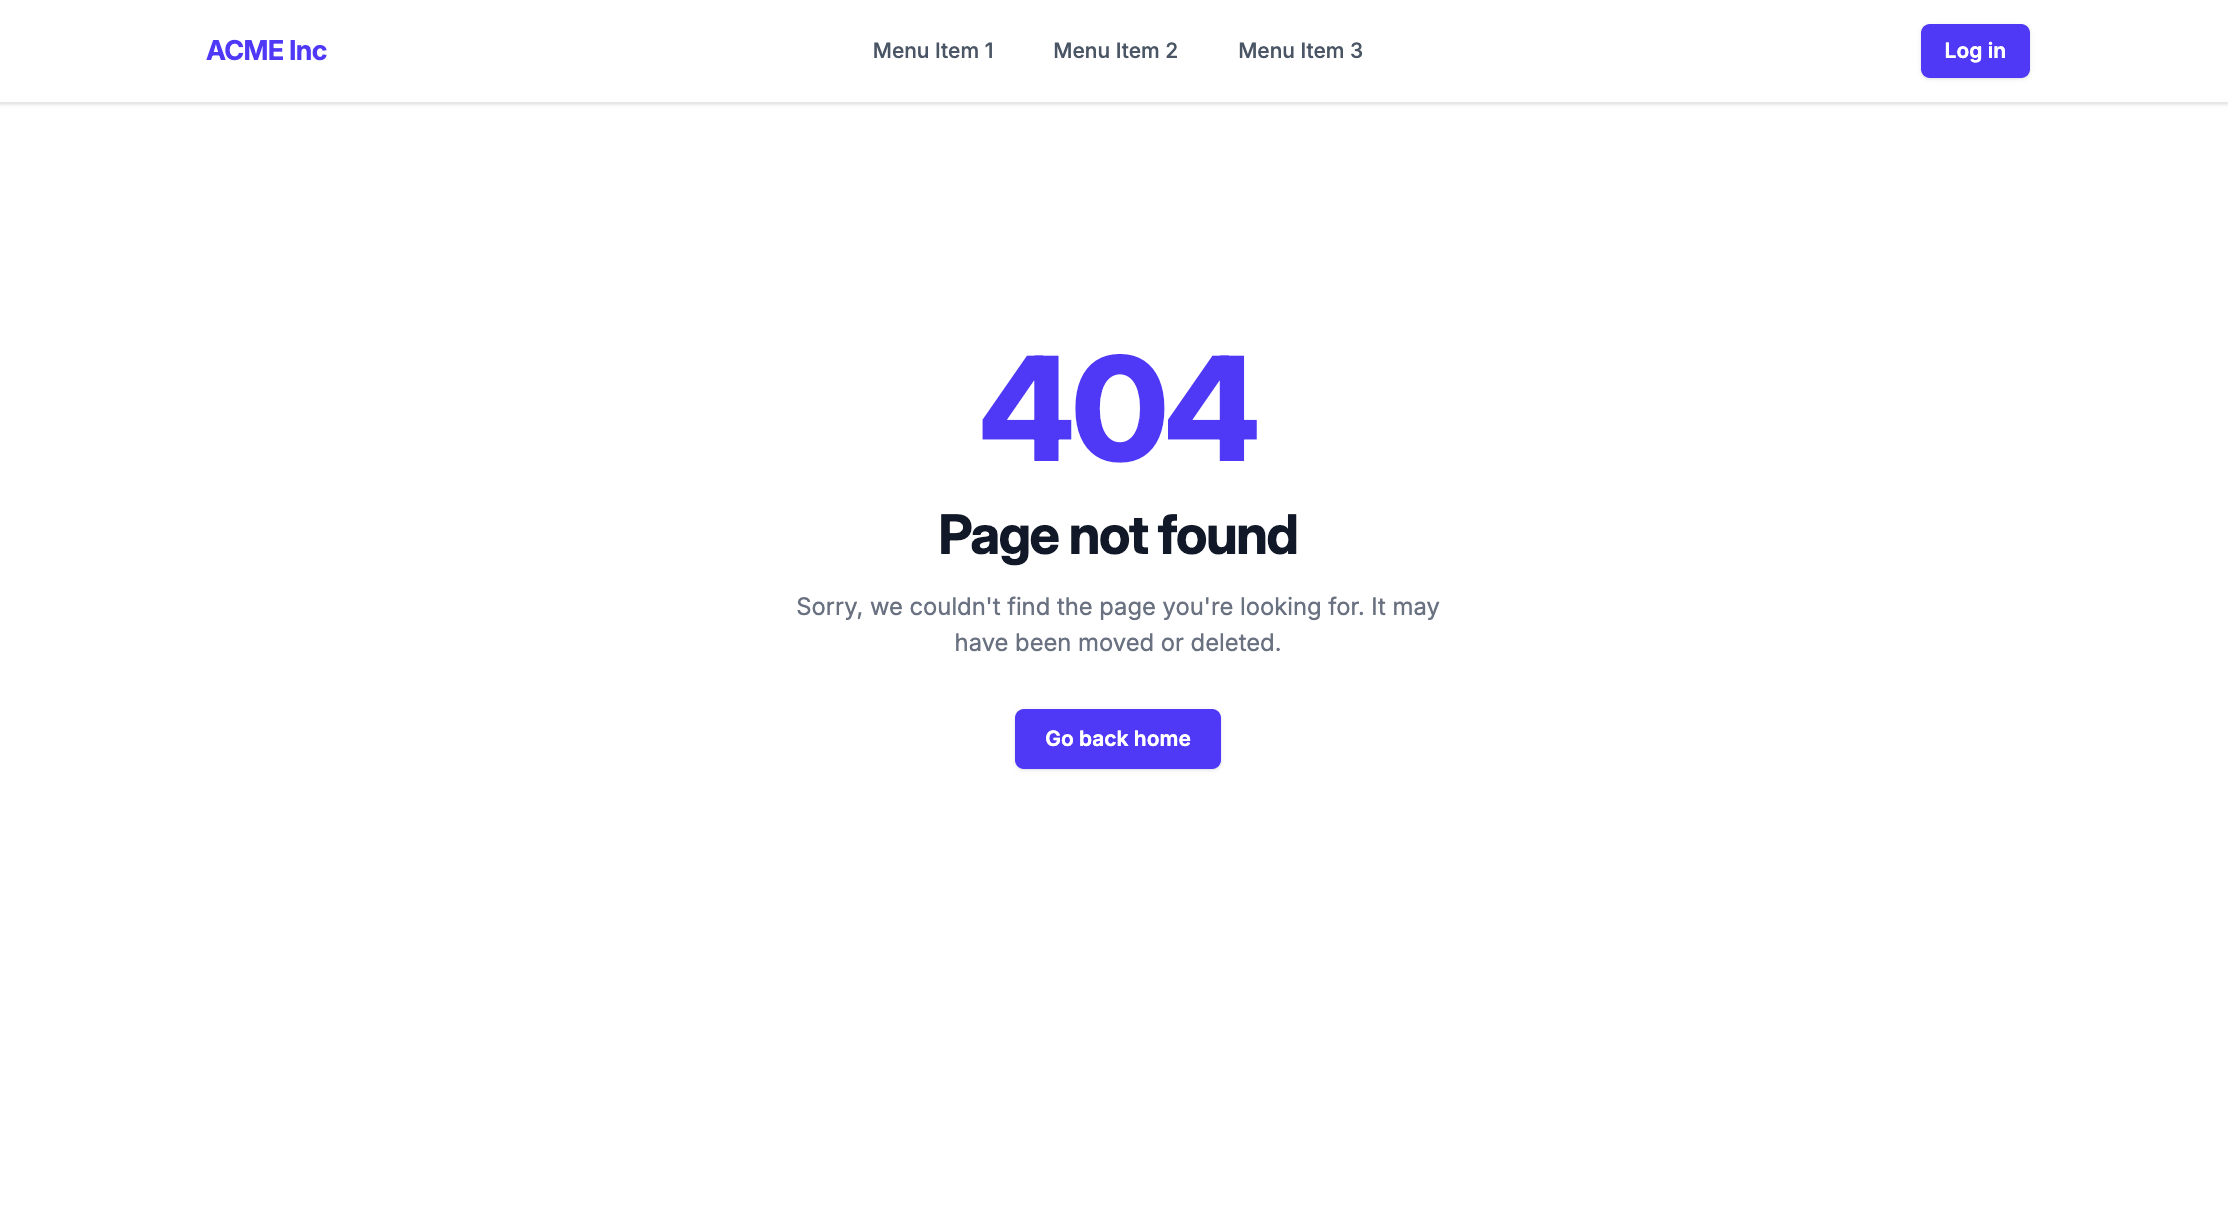 Browser showing the starter kit's 404 page with a Page not found message
Create Your First Page
- Open Webiny Admin
- Navigate to Website Builder → Pages
- Click New Page
- Set title to “Hello World” and path to
/ - Click Create
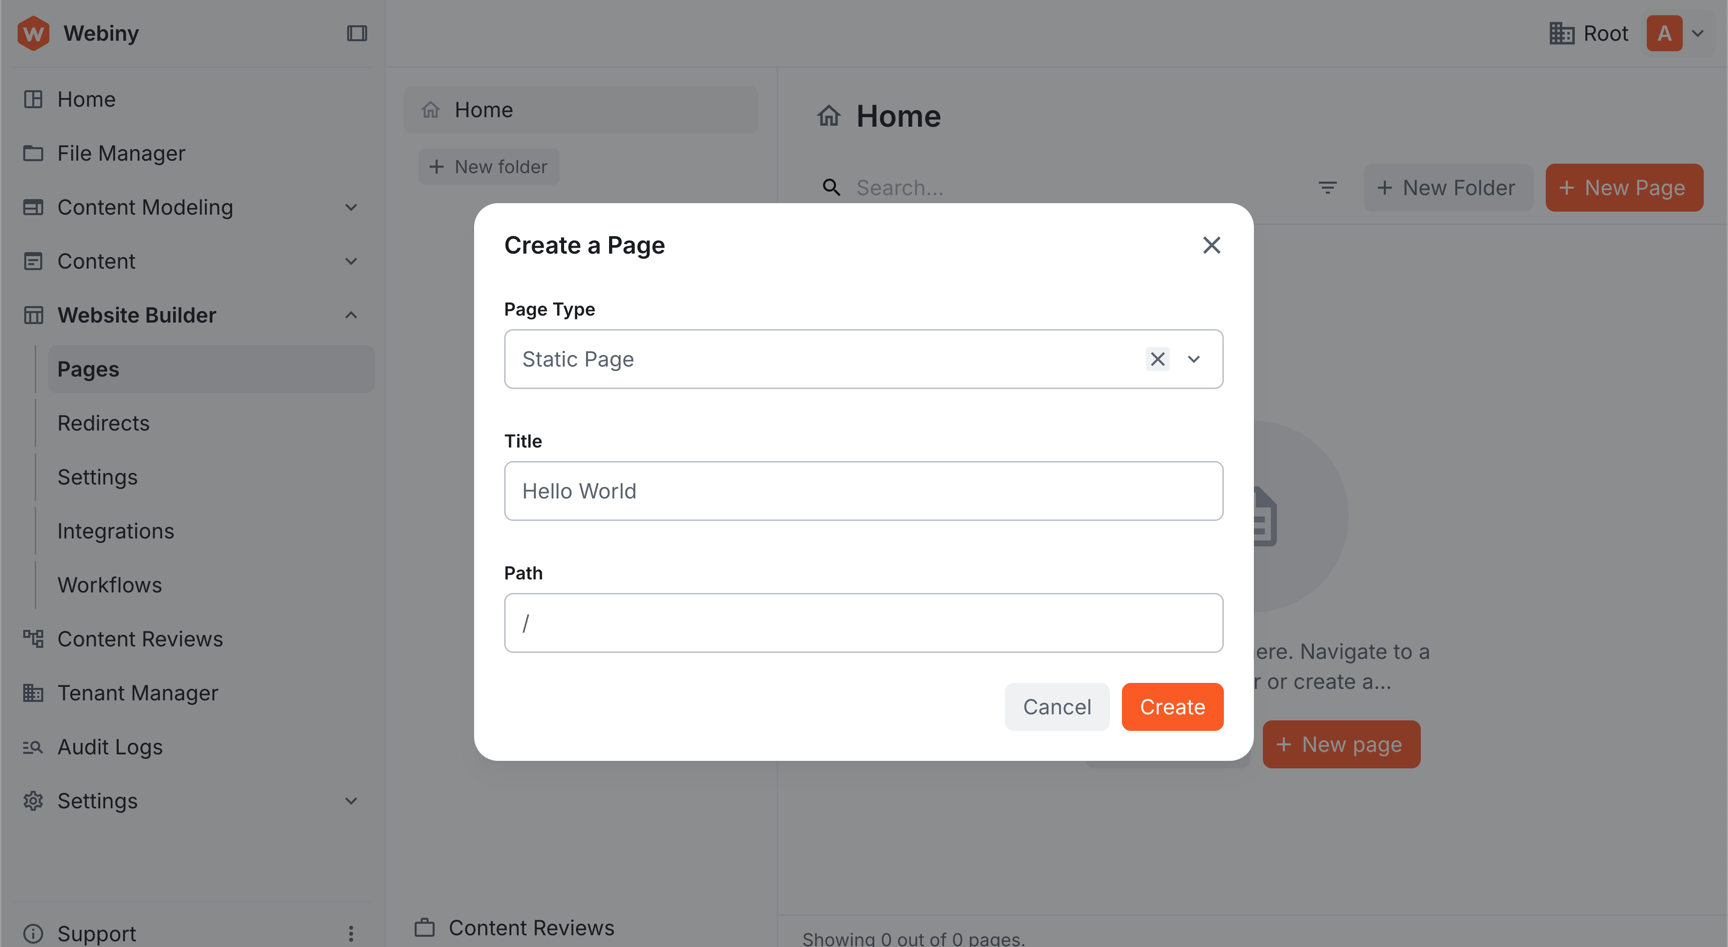 Create a Page dialog with Title set to Hello World and Path set to /
In the page editor, find Hero #1 in the component palette (Custom group) and drag it onto the canvas.
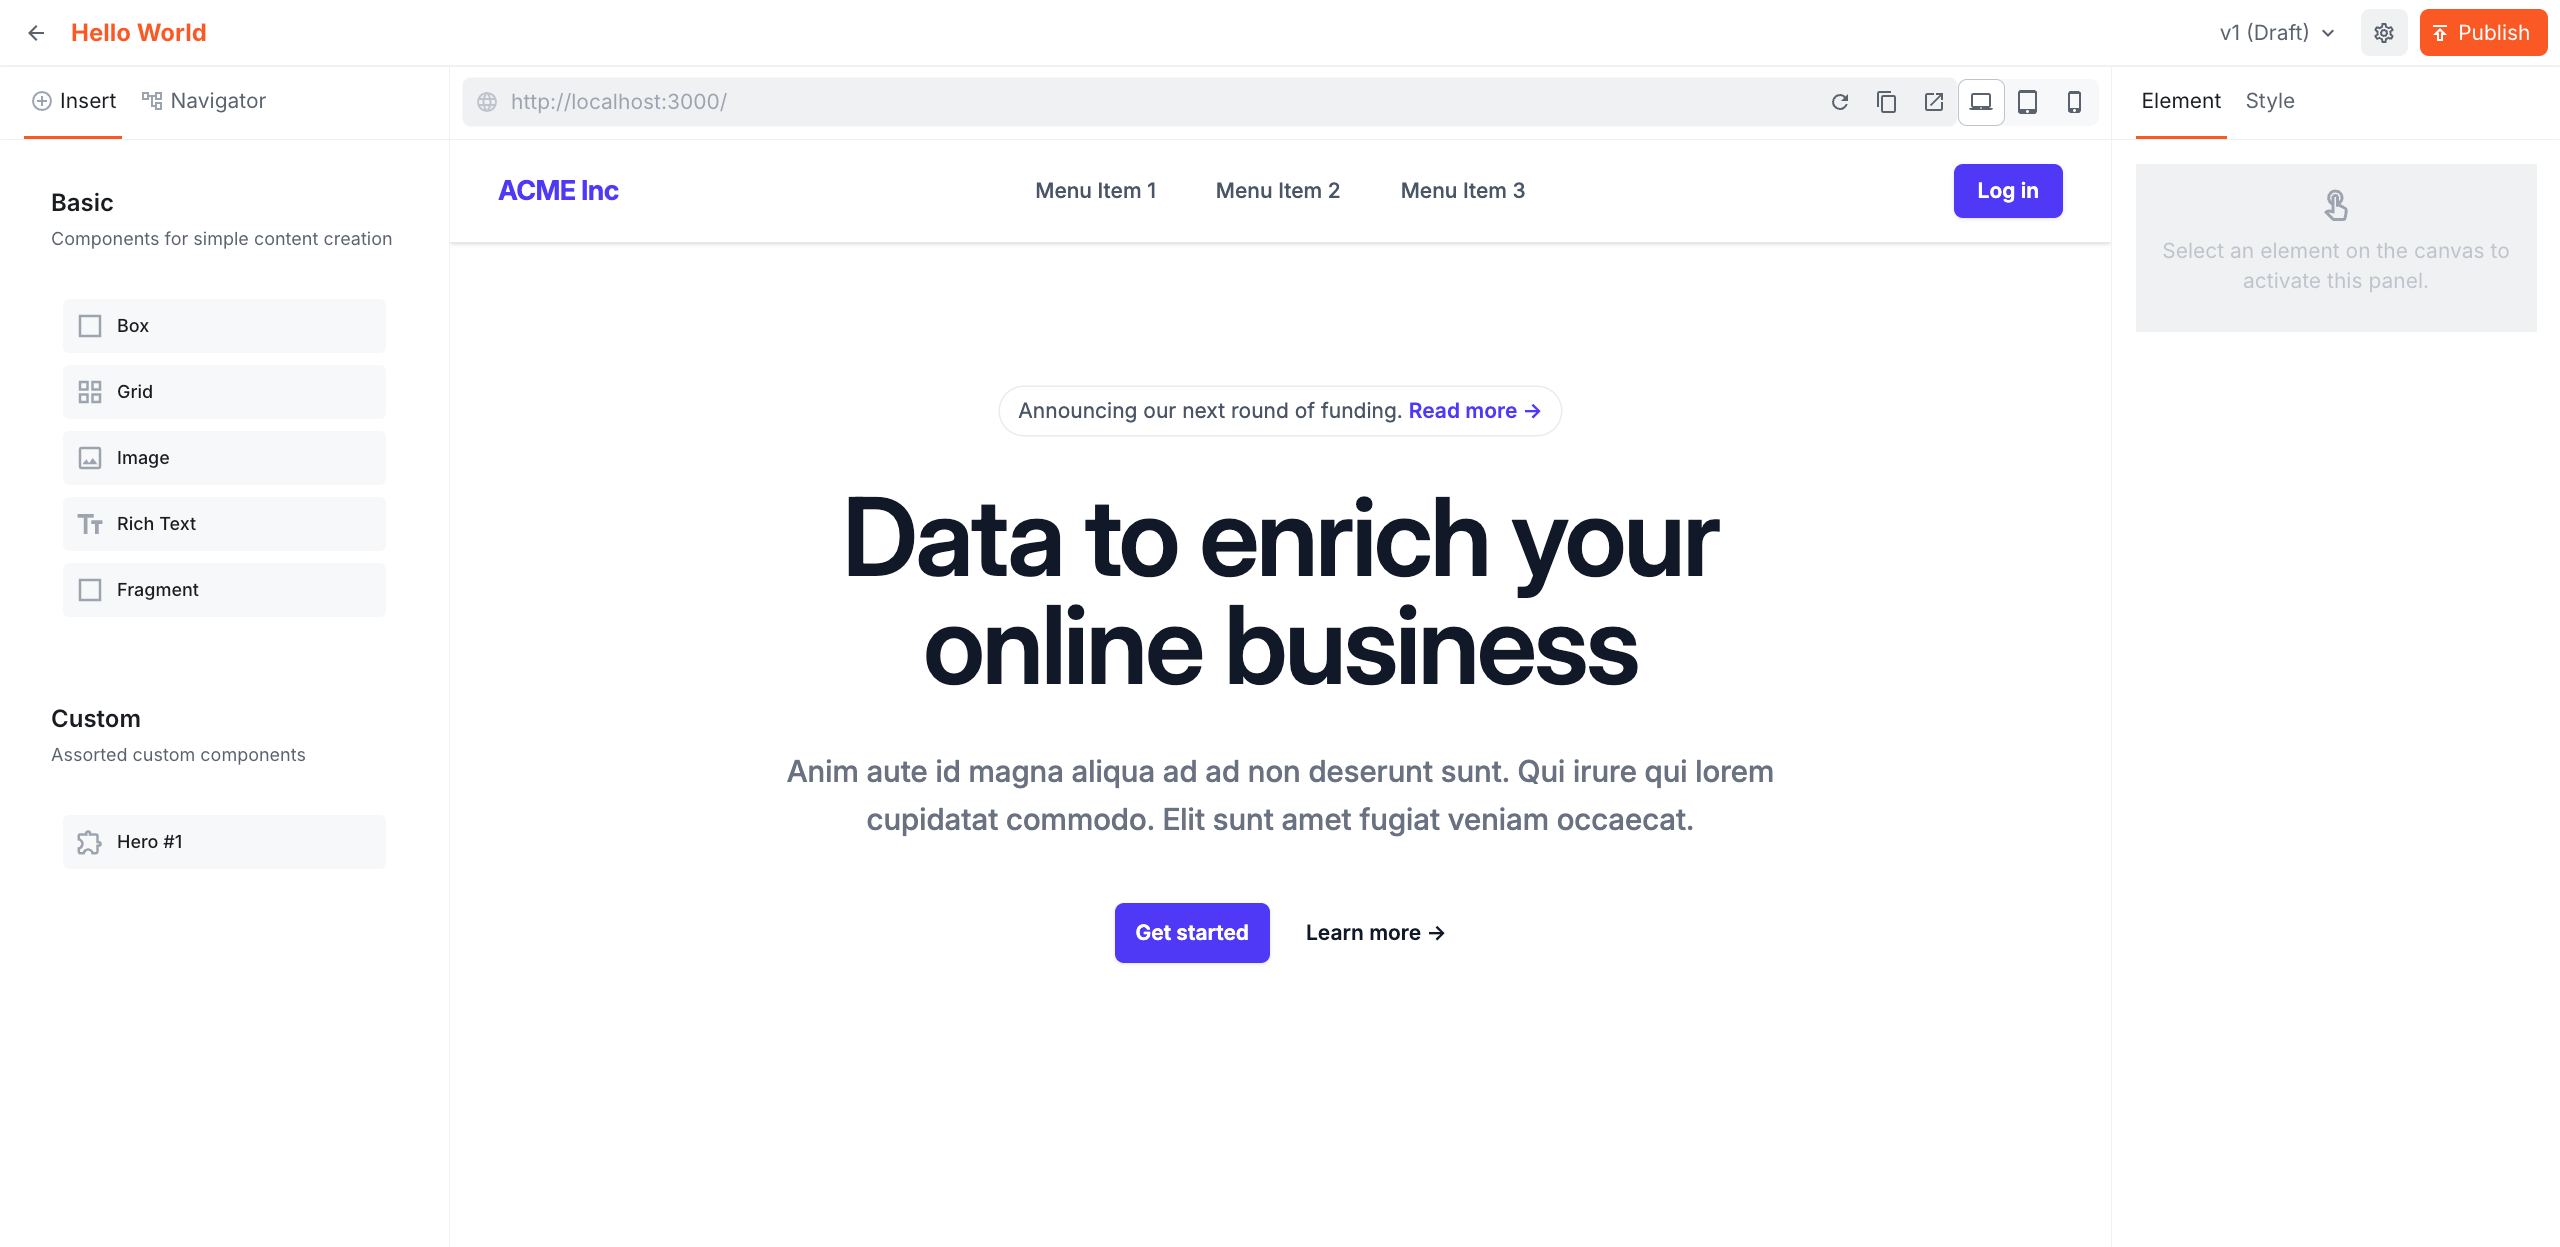 Website Builder editor with the Hero #1 component on the canvas
Click Publish, then refresh http://localhost:3000. The hero component now renders on your homepage.
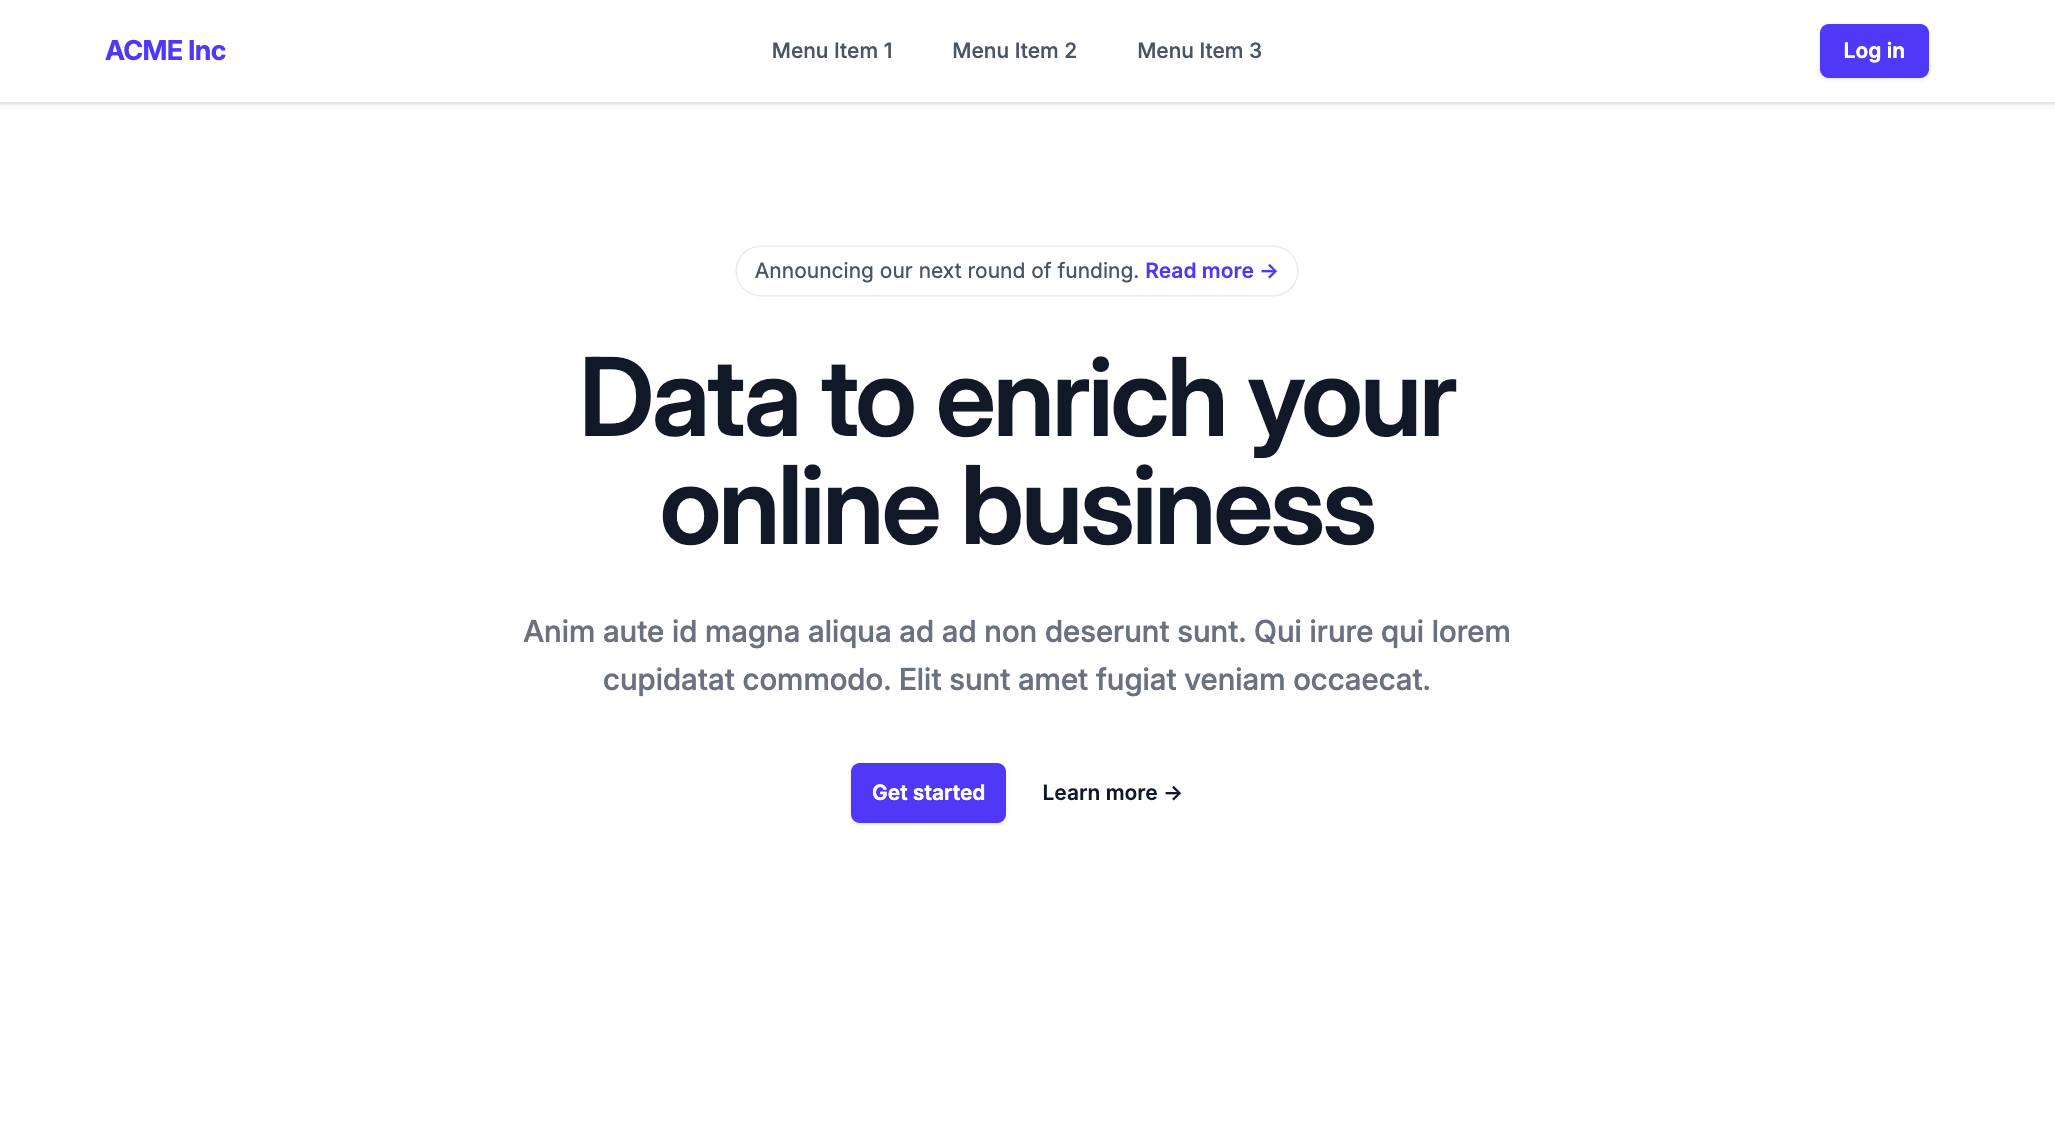 Browser showing the Hero #1 component rendered on the homepage
Project Structure
The starter kit keeps its files at the project root, with no src/ folder. The @/* path alias points to the project root.
app/(site)/[[...slug]]/page.tsx
Catch-all route that renders Website Builder pages.
app/(site)/articles/
Example of rendering Headless CMS entries. [...slug]/page.tsx renders published entries, and preview/page.tsx is the route the Headless CMS live preview pane loads. See Live Preview.
app/api/preview/
Enables Next.js draft mode for unpublished page previews.
app/api/redirects/
Looks up Website Builder redirects. middleware.ts calls it on every request.
sdk/
SDK initialization. initializeSdk.ts calls sdk.init() with your credentials, theme, and component groups. SdkInitializer.ts runs the same call on the client.
editorComponents/
Component registration. Add your custom components here.
theme/
Theme configuration (CSS variables, typography, colors).
Next Steps
With the starter kit running and your first page rendered, you’re ready to customize the theme and create custom components.